FIELD NOTES / Accessories
Your first Linux lab accessory kit: buy in the order you can test
A staged buying plan for a live Linux lab: establish a working desktop, recovery and network baseline before adding radios, hubs or specialist tools.
Your first Linux lab kit should let you complete a defined exercise and recover when something goes wrong. Start with a working computer, verified boot media, suitable power and a way to keep the notes you intend to retain. Add a network adapter, hub or specialist accessory when you can explain the task it enables and how you will test it.
This buying sequence avoids a common problem: several untested accessories arrive together and every failure has too many possible causes. It also produces a clearer quote. You can distinguish the essential kit for your first session from items that belong in a later phase.
Begin with the exercise and the desktop
Write one sentence describing the work: learning live-system administration, documenting your own network, or completing a defined security-training lab. Name the host and the operating system. A Tails privacy desktop and a Kali lab desktop have different purposes, even if both start from USB.
Kali’s developers describe it as a specialist security distribution and recommend a virtual machine as an initial route for new users. See Kali’s own guidance when deciding whether a physical live laptop is necessary for the first exercise. You may already own enough equipment to begin.
If your exercise specifically requires a Ghost PC, include the supplied laptop or eligible customer-owned conversion in the scope. The default is internal user-storage drives physically removed, with nonpersistent live boot. That means saved notes need an intentional destination before you end the session. Make this storage choice before adding expensive accessories.
Stage one: a dependable start and a recovery route
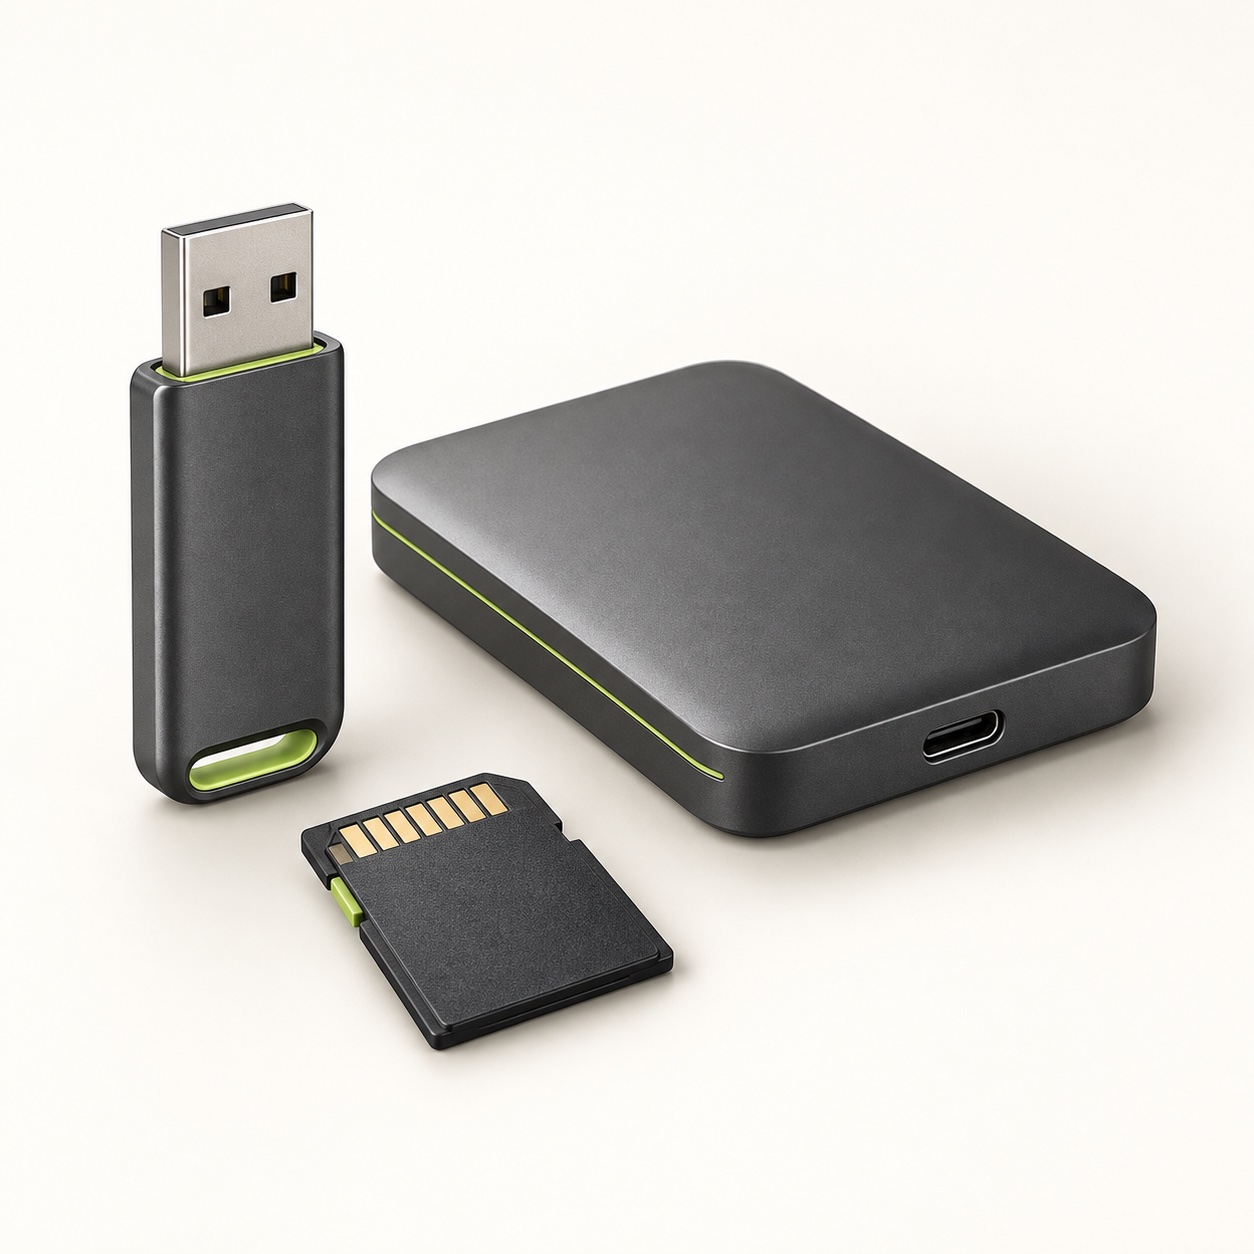
Specify the primary boot medium by exact model, capacity and intended image. Ask for the project release and preparation record, then boot it on the actual host. A practical first exercise is to identify the running system, check its ordinary desktop functions and create a harmless sample document in the location appropriate to your storage plan.
Use the operating system project’s image-verification process. Kali explains how to check official downloads in its download documentation; its USB verification guide also calls for trying the prepared medium. Buying pre-prepared media should still leave you with enough information to repeat those checks.
Next, decide how you will start if that medium fails. A labelled spare can be useful, but be clear what it contains. If you use persistent files, the backup must include those files deliberately. Tails documents a Persistent Storage backup process. Keep a recovery boot copy and a work backup conceptually separate, even when your chosen procedure combines them.
Stage two: the cables and power the host actually needs
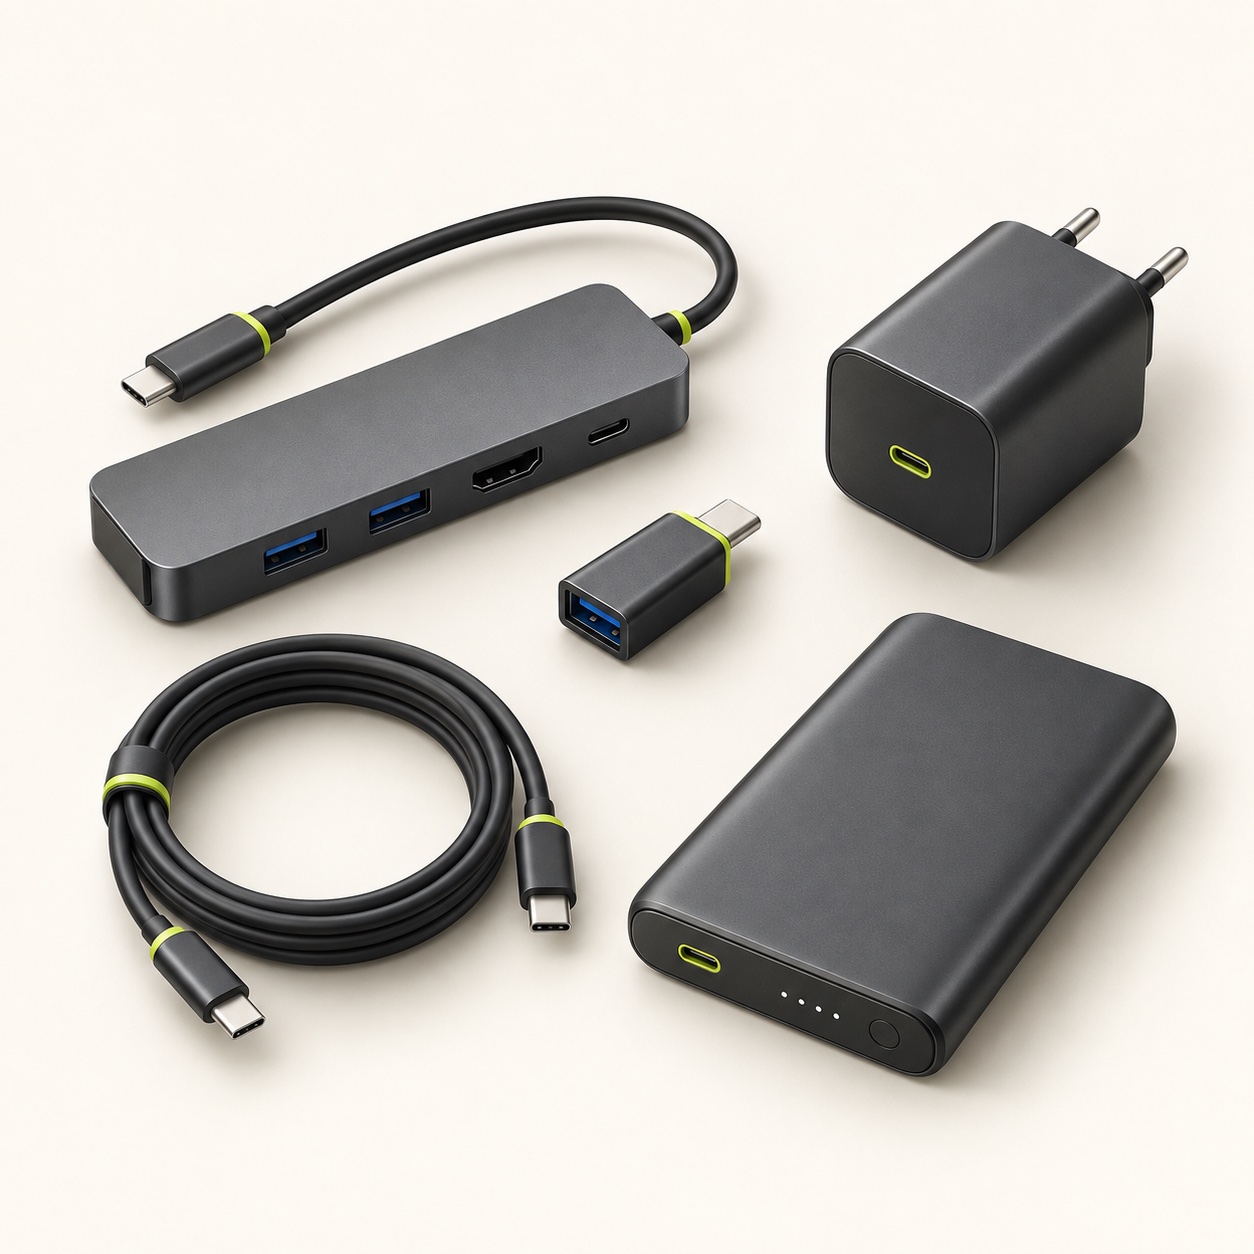
List every connection before ordering: laptop charger, boot medium, network adapter and any external display. Specify data cables for data connections. A charging-only arrangement or a USB data blocker belongs in a different role and will not provide the boot or network data connection you are trying to establish.
For USB charging, check the host’s required charging standard and the capabilities of the charger, cable and dock together. USB Power Delivery permits negotiated power arrangements, but the largest wattage printed on one component is not a complete compatibility statement. USB-IF’s Power Delivery overview explains why power is a system capability to check.
Request an ordinary-use charging check with the intended accessories connected. If portability matters, ask what was measured when a battery or power-bank runtime is quoted. Do not infer operating hours from capacity alone. For a desk lab, the supplied mains charger may meet the need without adding another battery system.
Stage three: establish one known network path
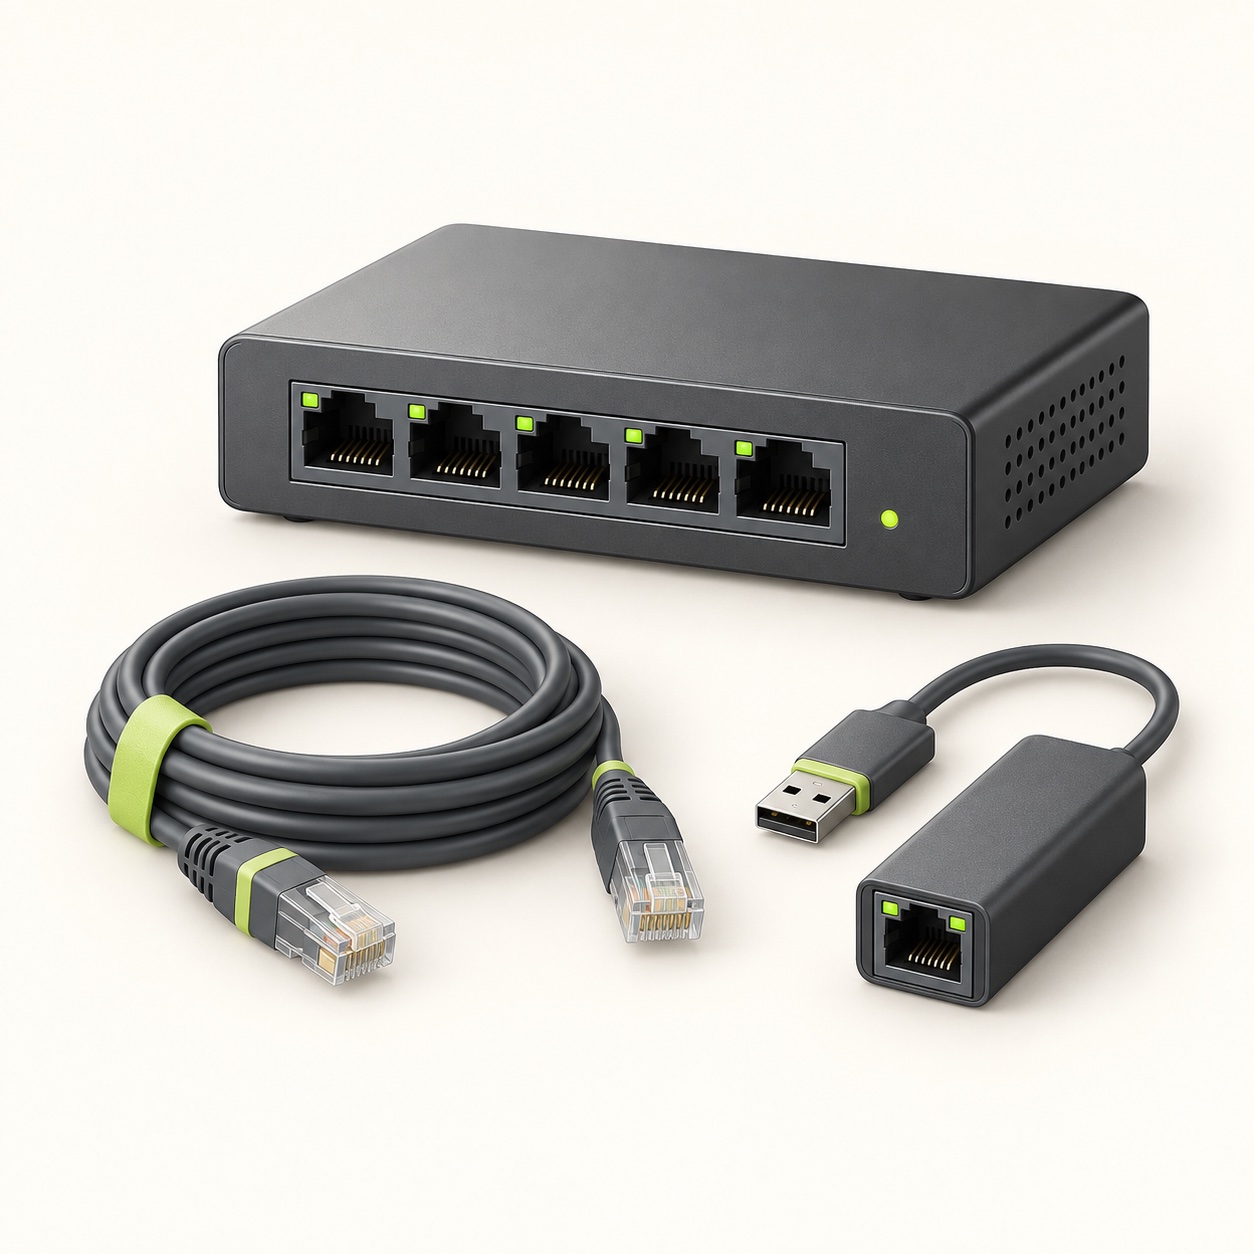
If the computer’s built-in networking meets the exercise, use it first. If you need a separate wired connection, consider a supported USB Ethernet adapter and a known working cable. Confirm the host detects the adapter and connects to your own lab network before adding a switch, multiple interfaces or a dock.
Write down what a successful first network test means: for example, receiving the expected local network configuration and opening a service on a device you control. Keep the target explicit. Internet access, local connectivity and a specialist wireless mode are different outcomes and should not be bundled into one vague “network works” tick box.
For security exercises, use systems you own or are authorised to test, with a defined lab boundary. Ask the training provider what connectivity its exercise requires. A lab with intentionally vulnerable targets needs a deliberate isolation plan; purchasing another adapter does not, by itself, create that isolation.
Stage four: one radio or hub with a stated purpose
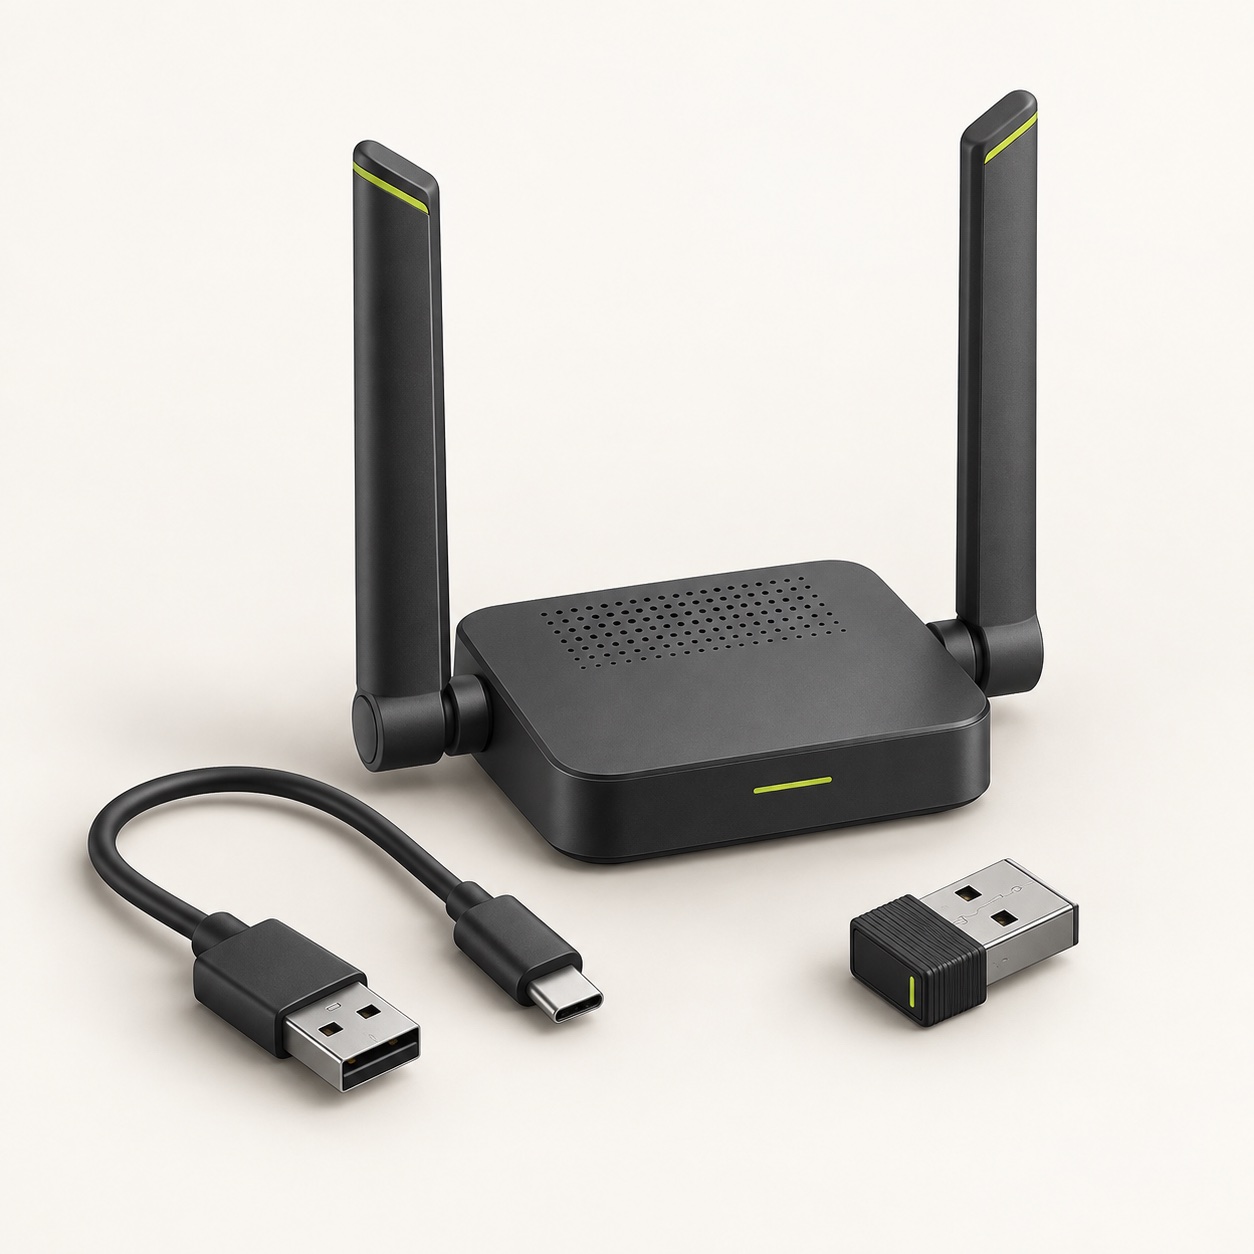
Add an external Wi-Fi adapter when the built-in radio cannot perform the required task or when the exercise needs a separate interface. Specify chipset, revision, required bands and the exact desktop image. Our Wi-Fi adapter guide explains the initial checks; a support claim should name the tested configuration.
A hub is justified when you need more suitable ports or a verified power arrangement. Test direct connection first, then the hub. Keep the same adapter and software while making that change. A large hub does not solve a missing wireless driver, and a second radio adds little value when you have not yet qualified the first one.
Two sensible starter scopes
Portable live-desktop scope: compatible host, suitable charger, primary live medium, agreed recovery route, essential data cable and a small protective case. Add Ethernet only if the host or intended venue requires it. This suits learning the desktop and a repeatable start-and-finish routine.
Wireless learning extension: the first scope plus one qualified adapter, access to your own appropriate lab access point and a hub only if the tested connection requires one. Agree the operating mode and bands before selecting a model. These are scope examples, not bundles with assumed stock, benchmark results or invented prices.
Keep an inventory with model, role, cable, port, software release and last successful check. The next purchase should fix a documented gap in that inventory. At pent.shop, lab accessories and Ghost PC bundles are quotation options: send your existing equipment and first exercise so the exact configuration, preparation and price can be agreed.
Sources and further reading
- Kali Linux intended audience and first installation
- Verifying official Kali downloads
- Kali USB preparation checks
- Tails Persistent Storage backups
- USB-IF Power Delivery overview
Project documentation checked for this article on 12 September 2026. Software and hardware requirements can change; use the linked project references for your exact configuration. How we prepare these articles.