FIELD NOTES / Ghost PCs
How to check a live USB session resets—and what a restart cannot remove
A repeatable acceptance check for a fresh-session desktop, with a clear boundary between observed reset behaviour and claims it cannot prove.
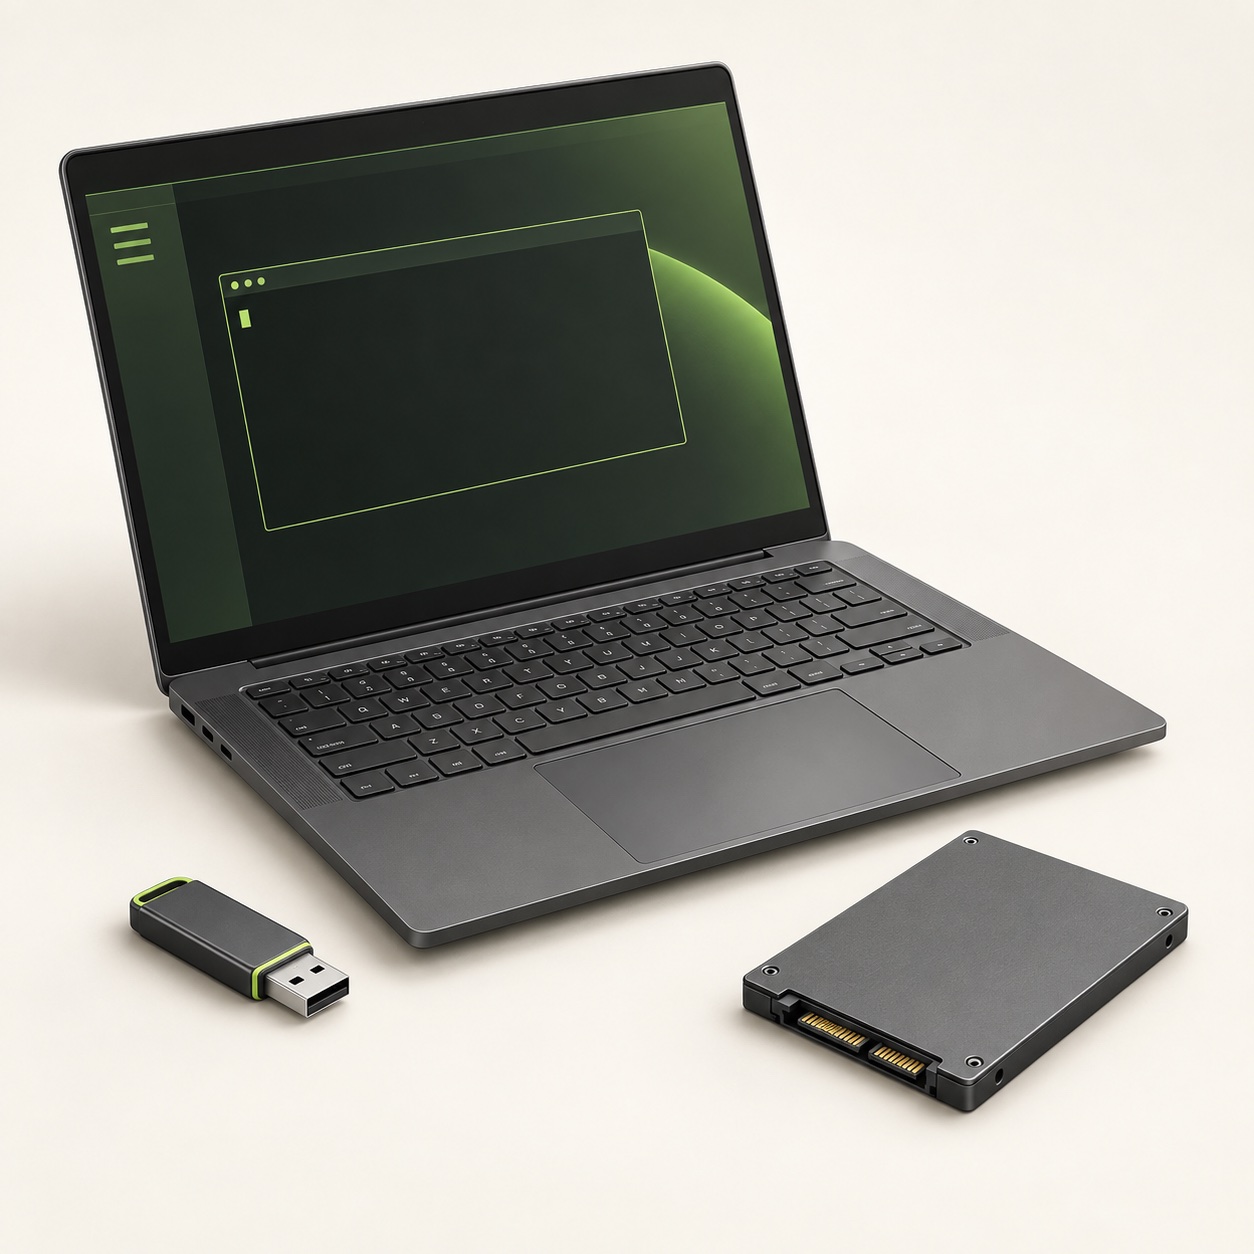
A useful reset check answers a narrow question: does an ordinary working file from this live session return after a normal shutdown and restart using the same configuration? You can test that with harmless sample data. It does not establish that every electronic record of the session has vanished, or certify the computer as resistant to every forensic technique.
For a pent.shop Ghost PC, internal user-storage drives are physically removed and the default live session has persistence off. The procedure below is an acceptance check for that intended behaviour. It also helps identify an accidental persistence boot choice before you begin work that matters.
Record the starting configuration
Write down the laptop identifier, operating system and release, labelled boot medium, USB port, selected boot entry and whether you unlocked persistent storage. Note every other connected storage device. If the machine was prepared for you, compare this with the handover record. A test performed using a different image or boot option does not validate the supplied configuration.
Kali’s persistence behaviour depends on its setup and boot selection; its persistence documentation describes a separate partition and the corresponding live boot option. In Tails, persistent features are individually configured. Its Persistent Storage settings distinguish the Persistent Folder from ordinary session locations. Confirm the mode before creating your sample.
Use a harmless marker in the ordinary session
- Start the intended live desktop normally. For the nonpersistent baseline, do not unlock or select persistence.
- Open the file manager and choose an ordinary local session folder, outside any Persistent folder, mounted drive, network share or cloud location.
- Create a small text file with an unmistakable name, such as
session-check-first-run.txt. Put a harmless sentence and the test date inside it. - Save it, close the editor and reopen the file. This confirms that you tested a saved file rather than an unsaved editor tab.
- Record its actual folder path and that it reopened successfully. Keep this test record somewhere intentionally retained.
Do not use personal documents, private keys or real customer data for the check. Avoid using an application’s recent-files list as the only evidence: the list and the file are different things. Similarly, a browser page being available again may simply mean the website still exists.
Add a separate storage control if needed
If you need to demonstrate the boundary, use a separate, clearly labelled scratch drive containing no valuable material. Save a different marker there and confirm it reopens. This control should survive because it is stored outside the disposable session. It helps show why “the live desktop reset” does not mean “all attached storage was wiped.”
Keep the two paths in your record. Do not write a test file into the boot image’s system area or modify partitions. This is a file-level acceptance check, not an installation procedure. A control drive is optional; leaving unnecessary storage disconnected makes the basic check easier.
Shut down fully, then repeat the same start
Close your test applications, finish any deliberate writes to external storage and use the desktop’s normal shutdown procedure. Tails documents its own shutdown controls. Follow the chosen operating system’s instructions and allow shutdown to finish before handling the boot medium. Closing the lid and resuming a suspended session is not the restart test described here.
Start again from the same labelled medium and select the same nonpersistent mode. Go directly to the recorded ordinary folder path. The first marker should be absent. If you used a separate control drive, its marker should still be present when you intentionally open that drive. Record what you actually observed, including unexpected results.
If the first marker returns, stop and inspect the configuration. Possible explanations include a persistent boot mode, a saved location on another drive, or starting a different installed system. Do not delete the marker and then describe the test as successful. Establish where the file lived and repeat the check after the cause is understood.
What a successful result establishes
You have observed that this sample file did not reappear at its recorded ordinary session location after this restart. That is useful evidence for everyday operation. Repeat it after replacing the boot medium, changing persistence settings or making a substantial configuration change. Keep the release and date with each result so a later check has a meaningful comparison.
If you ordered encrypted persistence, run a separately documented test in the intended persistent folder and with the correct unlock process. The expected result there is the opposite: your saved sample should return. A nonpersistent file disappearing does not demonstrate that a backup works, and an encrypted file returning does not demonstrate that every application setting is persistent.
What remains outside the claim
The live operating system remains on its USB so it can boot again. Deliberately saved files on external drives, account activity, messages you sent and records held by websites or network equipment are outside this local-file check. Restarting your laptop does not issue deletion requests to those systems.
Hardware and firmware trust are separate questions too. Tails explicitly discusses limits involving compromised firmware or altered hardware in its untrusted-computer guidance. A disappearing text file cannot establish that a firmware implant, hardware logger or other component is absent. Nor does this procedure measure physical memory remanence or constitute a secure-erasure certification.
Ask for a handover record that states the tested release, mode, file locations, shutdown sequence and result. Our Ghost PC guide sets out the product boundary. Precise evidence of a fresh session is more useful than an untestable promise that a machine “leaves nothing anywhere.”
Sources and further reading
- Kali Live persistence and boot selection
- Configuring Tails Persistent Storage
- Shutting down Tails
- Tails: untrusted computers
Project documentation checked for this article on 12 September 2026. Software and hardware requirements can change; use the linked project references for your exact configuration. How we prepare these articles.